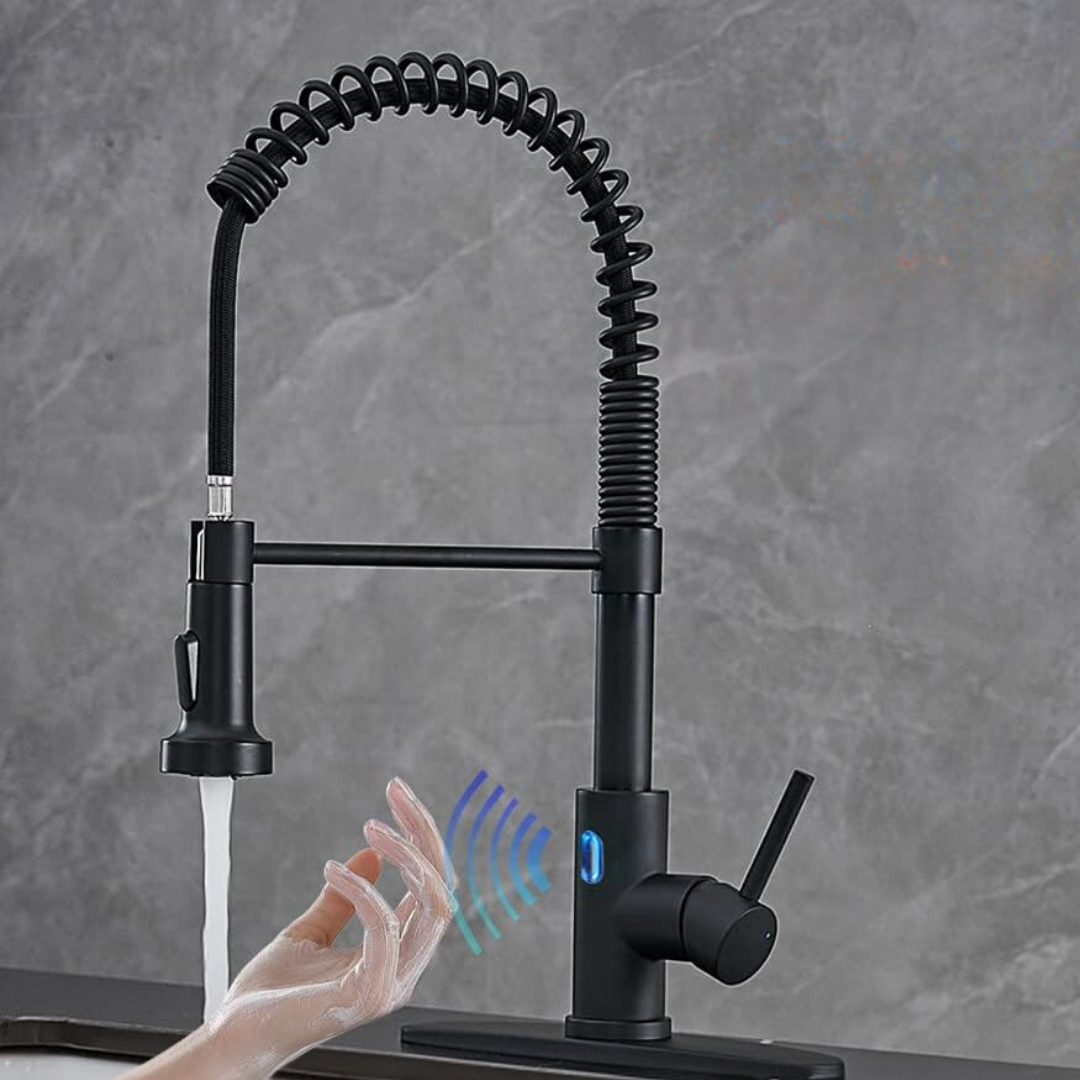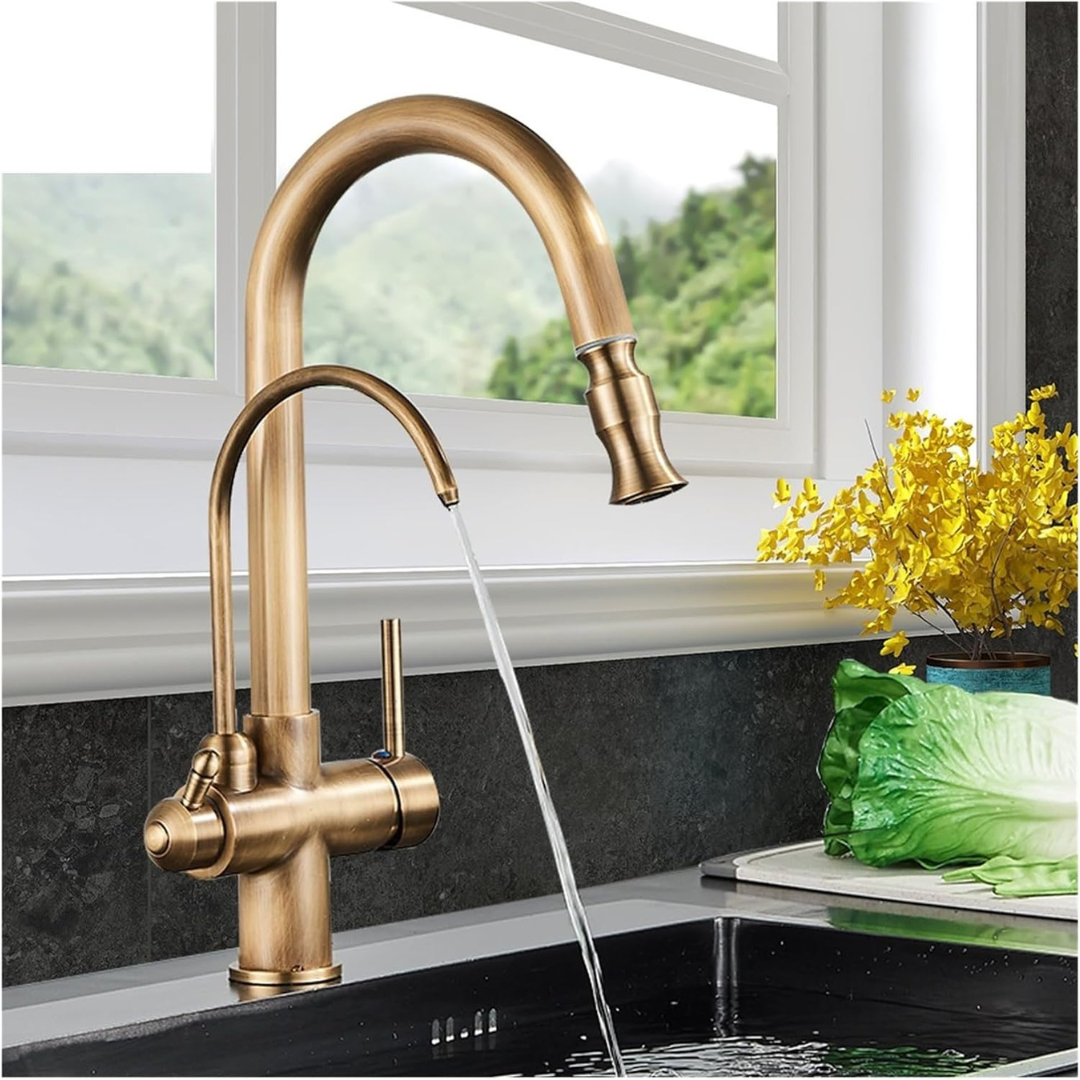
There is nothing easy about doing home renovations, especially when it comes to caulking your kitchen faucet. Caulking the kitchen faucet can be tricky and a bit technical. Therefore, you must consider many factors when caulking the faucet. But do you need to caulk around the kitchen faucet?
Yes. Keeping your kitchen faucets well caulked is one of the essential tasks to do if you want to prevent leaks from occurring. As a result of these leaks, mold and mildew can grow on wood or countertop surfaces, and insects can reproduce on those surfaces, making your kitchen unhygienic.
The sealant can be made from various materials and colors, such as acrylic, silicone, and copolymers. There is a slight difference between caulks and sealants, but many people use silicone sealant as a caulk because it has better flexibility than traditional sealants.
Stick by us and get to understand the required steps to caulk the kitchen faucet.
Steps to caulk a kitchen faucet:
Here are the steps on how to caulk a kitchen faucet.
Step 1: Get the surface ready
The surface is the main as it has to be clean and dry before you apply the caulk. There is a possibility that your faucet may have old caulk covering it, which means that you need to get rid of it.
You can do this by removing most of the caulk with a scraper or caulk removal tool, or you can clean the seal area with rubbing alcohol inside the joints of the faucet. Furthermore, ensuring that your sink and countertop do not sustain damage during this process is essential.
After removing the caulk, use mineral spirits to remove any dirt, oil, grease, mold, or mildew. Afterward, you can rinse the area with cold water and dry it with a clean cloth.
Step 2: Taping around the sink
As a second step, you will require some masking tape which will act as a barrier between the countertop and the caulk later on. Now, tape the caulk line around the sink on both sides. Be sure to cover the entire area and keep it neat, tidy, and straight. You should now run your fingers over the tape and firmly press it once you are satisfied you have it placed correctly.
Step 3: Prepare The Caulk
Getting ready for the caulk will require some time and effort on your part. Place the nozzle end of the tube in the open end of the caulking gun and press it into place with the plunger. After loading the nozzle, ensure that it fits the joint size of your kitchen sink.
The tube tip should be cut at a 45-degree angle with a utility knife or blade to create a one-quarter-inch opening.
The next step is to squeeze a small amount of caulk onto a rag, paper piece, or a spare piece of cardboard to achieve the desired outcome. By testing the setup like this, you can also prime the tube and eliminate any air bubbles that might be present in it. It is now time for you to caulk your faucet.
Step 4: Start Applying Caulk
Put the nozzle into the joint and press the trigger of the gun lightly to place a small amount of pressure on the nozzle. The caulk needs to be applied slowly around the sink, filling in any gaps as you go by applying it gradually.
Let’s see how it looks after you finish. You shouldn’t worry if it appears a little messy because that is simply the result of masking tape doing its job. So it’s okay if it looks a bit untidy at first.
Step 5: Smooth The Caulk
Once you’ve filled in all of the joints with the caulk, take a few minutes to make sure that the caulk is applied evenly throughout. You should ensure you don’t miss any gaps or holes in the process.
Then it would be prudent to use your finger to run around the sink to check that the caulk has adhered correctly. Doing this will smooth out the edges and make it look more professional.
Step 6: Remove the masking tape
It is vital to remove the tape wrapped around the sink before the caulk sets and dries. Remember this part because you may need to redo the entire process if it dries and gets stuck. When you lift it, you need to ensure that you do it at the right angle. You can remove it in one piece without bringing any caulk with you.
Remove excess caulk sealant with a warm damp cloth before it dries. Moreover, if it dries, you can still clean it off with a glitter pad or scraper, but it’s better to do it while it’s still fresh.
Is it important to caulk around the kitchen faucet?
Yes. It would be ideal if you caulked around the edges of your kitchen faucet. It will prevent it from getting any damage caused by water. Also, when your sink has an adequate seal on your countertop, it will allow you to keep debris, food, and general dirt out of the area.
How to apply caulk behind the kitchen faucet?
To apply caulk behind the kitchen faucet, you need to follow these steps:
- Make 45-degree cuts on both corners of a standard popsicle stick with a utility knife.
- Using a knife, cut off the end of the caulk bottle.
- To make the backsplash fully waterproof and mold-resistant, apply some caulk.
- Apply the caulk on the back of the kitchen faucet by dripping some caulk where you can. Then, twist it back and forth between the various fittings hoping to cover the connection from behind.
- Cut a popsicle stick into a wet one.
- Next, smooth out the caulk using a popsicle stick. Because the popsicle stick is narrow, you can quickly get behind the kitchen faucet fixtures and smooth them out.
Conclusion
Now we have concluded why you need to caulk around the kitchen faucet. We have identified several reasons why it is imperative for us to do so. Moreover, you can see that it is quite easy to do this yourself.
Consequently, the best part is that you don’t have to break the bank to make this happen. In addition to that, you don’t have to call a plumber for such tasks.
We hope our blog post helped in your daily life about caulking your faucet.
Happy Faucet Fixing!


